
How to Set Up Home EV Charging

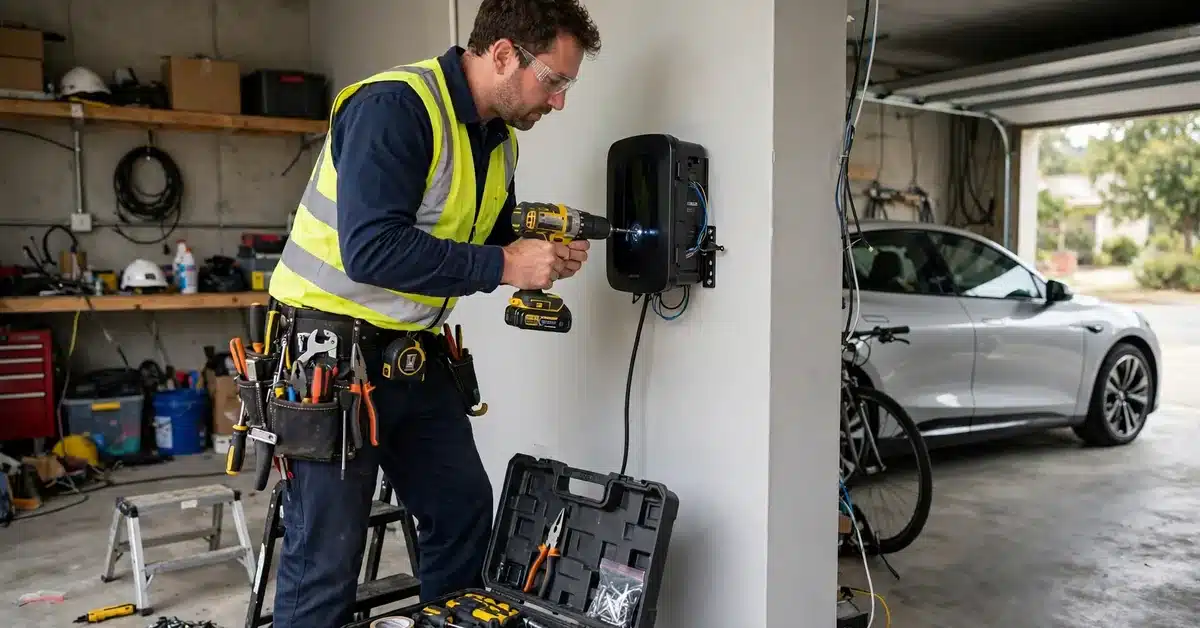
Setting up home EV charging is straightforward and typically takes one day once you have the right equipment and a licensed electrician. Most EV owners start with a simple assessment of their electrical panel, choose a wallbox that fits their needs, hire an electrician to install a 240V circuit, and wake up the next morning to their first home-charged EV. This step-by-step guide walks you through how to set up home EV charging from start to finish in 2026.
Step 1: Check Your Electrical Panel
Before buying any equipment, assess your home’s electrical panel. A Level 2 home charger requires a dedicated 240V circuit with a 40–60 amp breaker. Open your electrical panel and look for available breaker slots — you need two adjacent slots for a double-pole 40–60A breaker. If your panel is full or showing less than 100A total service, you may need an upgrade. Most homes built after 1990 have a 200A main panel with available capacity.
If you are unsure, hire a licensed electrician for a free or low-cost panel assessment ($50–$150) before purchasing your charger. The assessment tells you exactly what circuit capacity you have available and whether you need a panel upgrade — avoiding costly surprises after purchase. Panel upgrades, if needed, add $1,500–$3,000 to the installation cost.
Step 2: Choose Your Home Charger
For most EV owners, a 32–48 amp Level 2 wallbox (7.7–11.5 kW) is the right choice — filling any EV overnight and matching most cars’ onboard charger limits. Key decisions:
- Amperage: 32A (7.7 kW) is adequate for under 40 miles daily; 40–48A (9.6–11.5 kW) charges faster and future-proofs for larger-battery EVs
- Plug-in vs hardwired: Plug-in models (NEMA 14-50) are portable if you move; hardwired units require an electrician to remove but are cleaner installs and support higher amperages
- Smart vs basic: Smart chargers with WiFi apps allow off-peak scheduling (saving 30–50% on charging costs) — worth the extra $100–$200 for most owners
- Connector type: Most 2024+ EVs use NACS — check that your charger is compatible or includes an adapter for your specific vehicle
Step 3: Hire a Licensed Electrician
Installing a 240V circuit requires a licensed electrician in virtually every U.S. state — and most EV charger warranties require professional installation to remain valid. Get at least three quotes — prices vary significantly by location, panel distance from the garage, and whether permit fees are included. Typical electrical installation costs range from $200–$600 for a straightforward installation with an accessible panel near the garage, to $1,500–$3,000 if conduit needs to run long distances or the panel requires an upgrade.
Good installers to call include: electricians recommended by your EV manufacturer’s website, ChargePoint’s Qmerit network, Amazon Home Services, and local licensed master electricians. Always verify the electrician pulls a permit — unpermitted EV charger installations can cause problems with home insurance and resale.
Home EV Charging Setup: Cost Summary
| Item | Typical Cost | Notes |
|---|---|---|
| Level 2 wallbox unit | $200–$800 | ChargePoint, Emporia, Grizzl-E, JuiceBox |
| Electrical installation | $200–$600 | Simple installation, panel nearby |
| Permit fees | $50–$200 | Varies by municipality |
| Panel upgrade (if needed) | $1,500–$3,000 | Only required if panel is at capacity or under 100A |
| Total (typical) | $500–$1,600 | No panel upgrade needed |
| Federal tax credit (30%) | –$150–$480 | Form 8911; applies to equipment + installation |
| Utility rebates | –$100–$500 | Check your utility’s website before purchasing |
| Net cost after incentives | $200–$900 | Typical after credits and rebates |
Step 4: Install and Set Up the Charger
The electrician runs the 240V circuit from your panel to the garage or driveway, installs the outlet or hardwires the wallbox, and verifies correct operation. Installation typically takes 2–4 hours. After installation, download the charger’s app (ChargePoint, Emporia, JuiceBox, etc.), connect to your home WiFi, and set up your charging schedule — most owners set charging to start at 11pm to benefit from off-peak electricity rates.
Step 5: Configure Smart Charging Settings
- Set an off-peak charging schedule: Program the charger to start at 11pm and finish before 7am — saving 30–50% on electricity costs if your utility offers Time-of-Use rates
- Set the charge limit in your EV: In your car’s settings or app, set the daily charge limit to 80% for NMC batteries — this extends long-term battery life significantly
- Set a departure time: Most EVs allow you to set a departure time — the car will precondition the cabin and finish charging just before you leave for maximum comfort and efficiency
- Check energy monitoring: Smart charger apps show exactly how many kWh you’ve used and what it cost — useful for tracking monthly charging costs and adjusting habits
Can You Charge an EV Without a Wallbox?
Yes — every EV comes with a Level 1 portable cable (EVSE) that plugs directly into a standard 120V outlet. This requires no installation and costs nothing beyond the car. Level 1 adds only 3–5 miles per hour — adequate for PHEVs and drivers who commute under 25 miles daily, but not practical for full EV owners who commute longer distances. A Level 2 wallbox is strongly recommended for any full EV driver covering more than 30 miles per day.
Conclusion
Setting up home EV charging involves four simple steps: check your electrical panel, choose a wallbox, hire a licensed electrician, and configure your smart charging settings. Total cost typically runs $500–$1,600 before the 30% federal tax credit and utility rebates — often reducing the effective cost to $200–$900. Once installed, your home becomes a personal fuelling station that fills your EV overnight every night for about $35–$60 per month — transforming the EV ownership experience from “charging anxiety” to “never thinking about it again.”
